
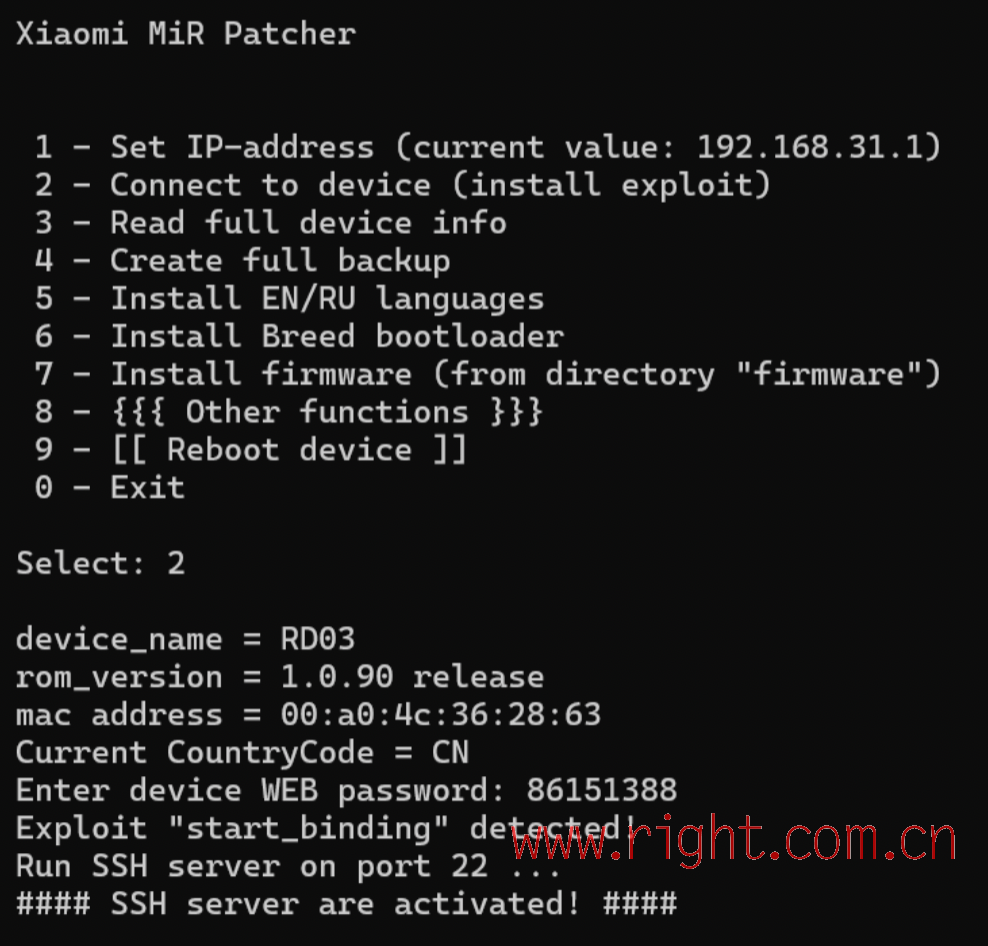
起一个终端 … 阅读全文
起一个终端,拷贝 uboot 文件到/tmp/目录下
scp mt7981_ax3000t_an8855-fip-fixed-parts-multi-layout.bin root@192.168.31.1:/tmp/
# passwd: root
另起一个终端,ssh 到路由器上
ssh root@192.168.31.1
# passwd: root
刷入 uboot:
mtd write /tmp/mt7981_ax3000t_an8855-fip-fixed-parts-multi-layout.bin FIP
进入 uboot 并刷机
- 进入 UBOOT:拔掉电源,卡针顶入 reset 孔并保持,连接电源,保持 reset 键 5 秒,路由器显示灯亮白色。
- 手动将电脑网段调整到 192.168.1.0/24,访问 192.168.1.1,进入 UBOOT 界面
- 因为我们要刷入的是 immortalwrt,所以选择 mtd layout 为 immortalwrt-112m
这里注意,在网上,你有可能下载到 4 种类型的固件:

factory 的固件表示固件通过 uboot 进行刷入。 sysupgrade 的固件表示,在 immortalwrt 安装完成之后,在系统内进行 OTA 升级所用的固件。 stoke 固件表示适用于官方分区布局。 带 initramfs 的固件一般用不上,这种固件貌似用于特殊用途,在这种固件中进行的配置更改并不会保存(ramfs 特点),应该仅用作调试,这一块我也不是很了解,当我没说。 推荐在 uboot 中刷入不带 stoke 的 factory 固件,当然,后续的系统 OTA 升级也必须使用不带 stoke 的固件,也就是看好这俩:
- immortalwrt-mediatek-mt7981-xiaomi_mi-router-ax3000t-an8855-squashfs-factory.bin
- immortalwrt-mediatek-mt7981-xiaomi_mi-router-ax3000t-an8855-squashfs-sysupgrade.bin
uboot 刷机用 1.,后续系统升级用 2.。
刷完后的配置
一定要看固件发布者定下的默认网关地址,如果发布者没有说到,那么就把 IP 地址设置为自动,这些固件应该默认有启用 DHCP,会自动分发一个 IP 地址下来。在网页浏览器输入网关地址进行配置。
immortalwrt 对 WAN/WAN6 的默认配置是 DHCP/DHCPv6,适用于光猫拨号,如果你是路由器拨号,就把 WAN 改成 PPPoE 即可。
后续的配置就跟 OpenWRT 一样了,不再赘述。
系统洁癖?折腾党?固件定制党?
这一部分讲解如何自己编译 ImmortalWRT 固件,但这里太小了写不下,等有时间了我再来。
这里提供一份我自己编译的固件,带了以下功能:
- Argon 主题设置
- ttyd 终端
- Open 克拉什
- 网络唤醒
- Alist
- ddns-go
- uHTTPd 管理
- UPnP
- Zerotier
- Docker
默认网关地址:10.0.0.1
通过网盘分享的文件:AX3000Tv2-ImmortalWRT 链接:https://pan.baidu.com/s/1Nto99D_bNqHjhZhozEVP1Q?pwd=7tu8 提取码:7tu8
——————————————————————————
有时间了,写一下。
首先打开网址:,这是 hanwckf 发布的适用于 798x 芯片硬件的源代码。
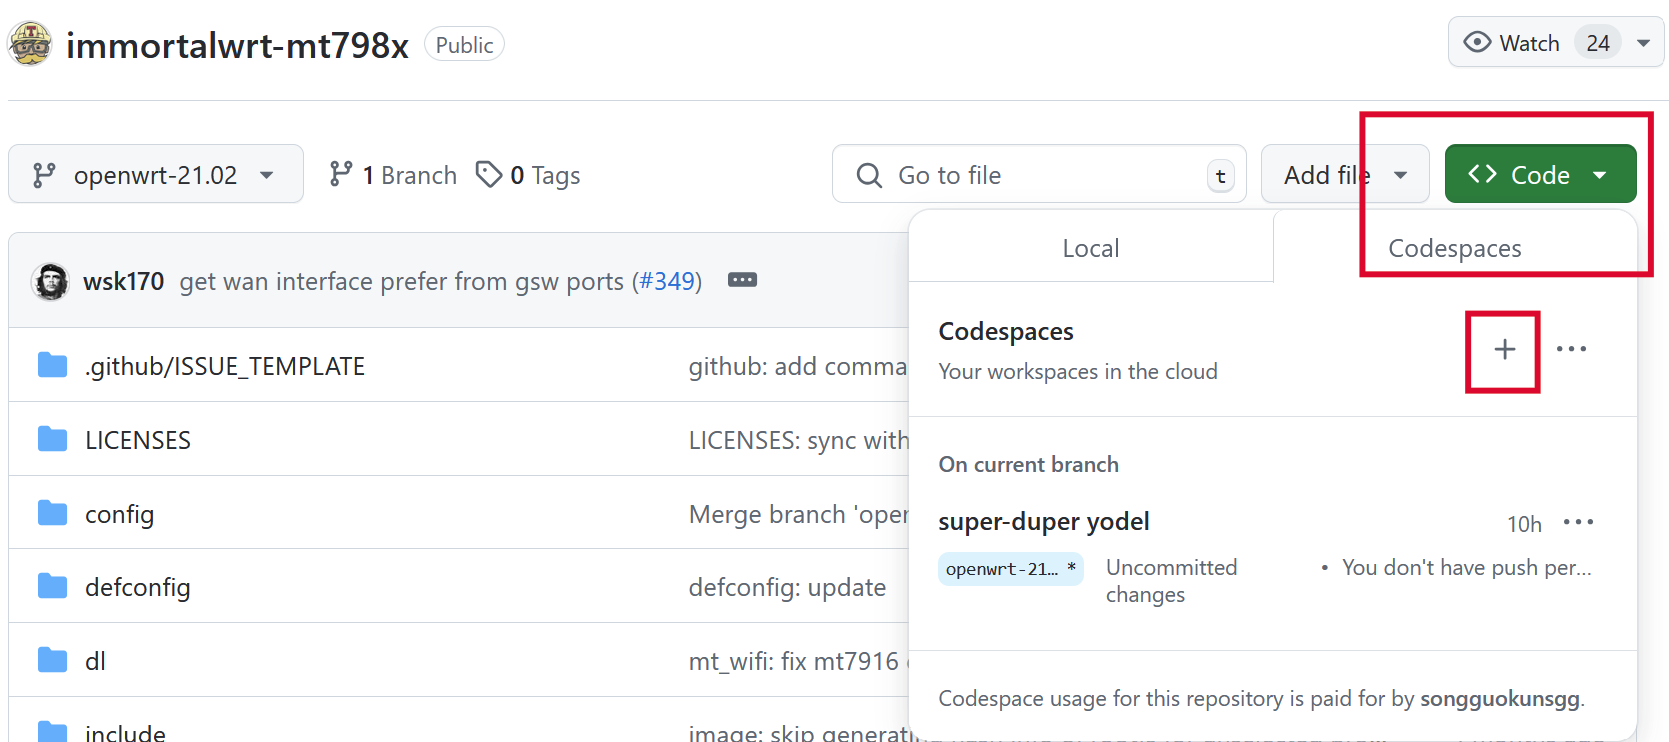
我已经创建了一个,所以你的界面可能与我有所不同。
codespace 里面会包含一套完整的开发环境,整体编译步骤可以看我以前文章,搜索 immortalwrt 即可。
主要区别在两点,一是选择配置,二是选择机型:
以下引用 README.md
Quickstart
-
Run
git clone --depth=1 https://github.com/hanwckf/immortalwrt-mt798x.gitto clone the source code. -
Run
cd immortalwrt-mt798xto enter source directory. -
Run
./scripts/feeds update -ato obtain all the latest package definitions defined in feeds.conf / feeds.conf.default -
Run
./scripts/feeds install -ato install symlinks for all obtained packages into package/feeds/ -
Copy the configuration file for your device from the
defconfigdirectory to the project root directory and rename it.config# MT7981 cp -f defconfig/mt7981-ax3000.config .config # MT7986 cp -f defconfig/mt7986-ax6000.config .config # MT7986 256M Low Memory cp -f defconfig/mt7986-ax6000-256m.config .config -
Run
make menuconfigto select your preferred configuration for the toolchain, target system & firmware packages. -
Run
make -j$(nproc)to build your firmware. This will download all sources, build the cross-compile toolchain and then cross-compile the GNU/Linux kernel & all chosen applications for your target system.
第 5 步,针对 AX3000Tv2,使用 cp -f defconfig/mt7981-ax3000.config .config,第 7 步,将除 AX3000Tv2 以外的机型全部去掉。
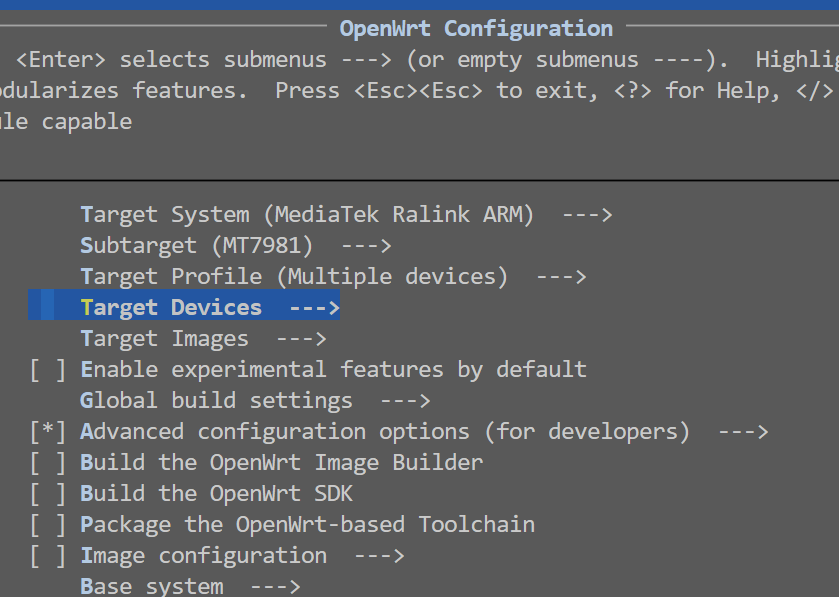
然后定制 luci 软件包,编译即可,codespace 不存在网络问题,应该可以一次成功。
但 codespace 的环境配置不高,编译时间比较长,还是更推荐本地搭建编译环境,需要使用 ubuntu20.04 系统, 收起